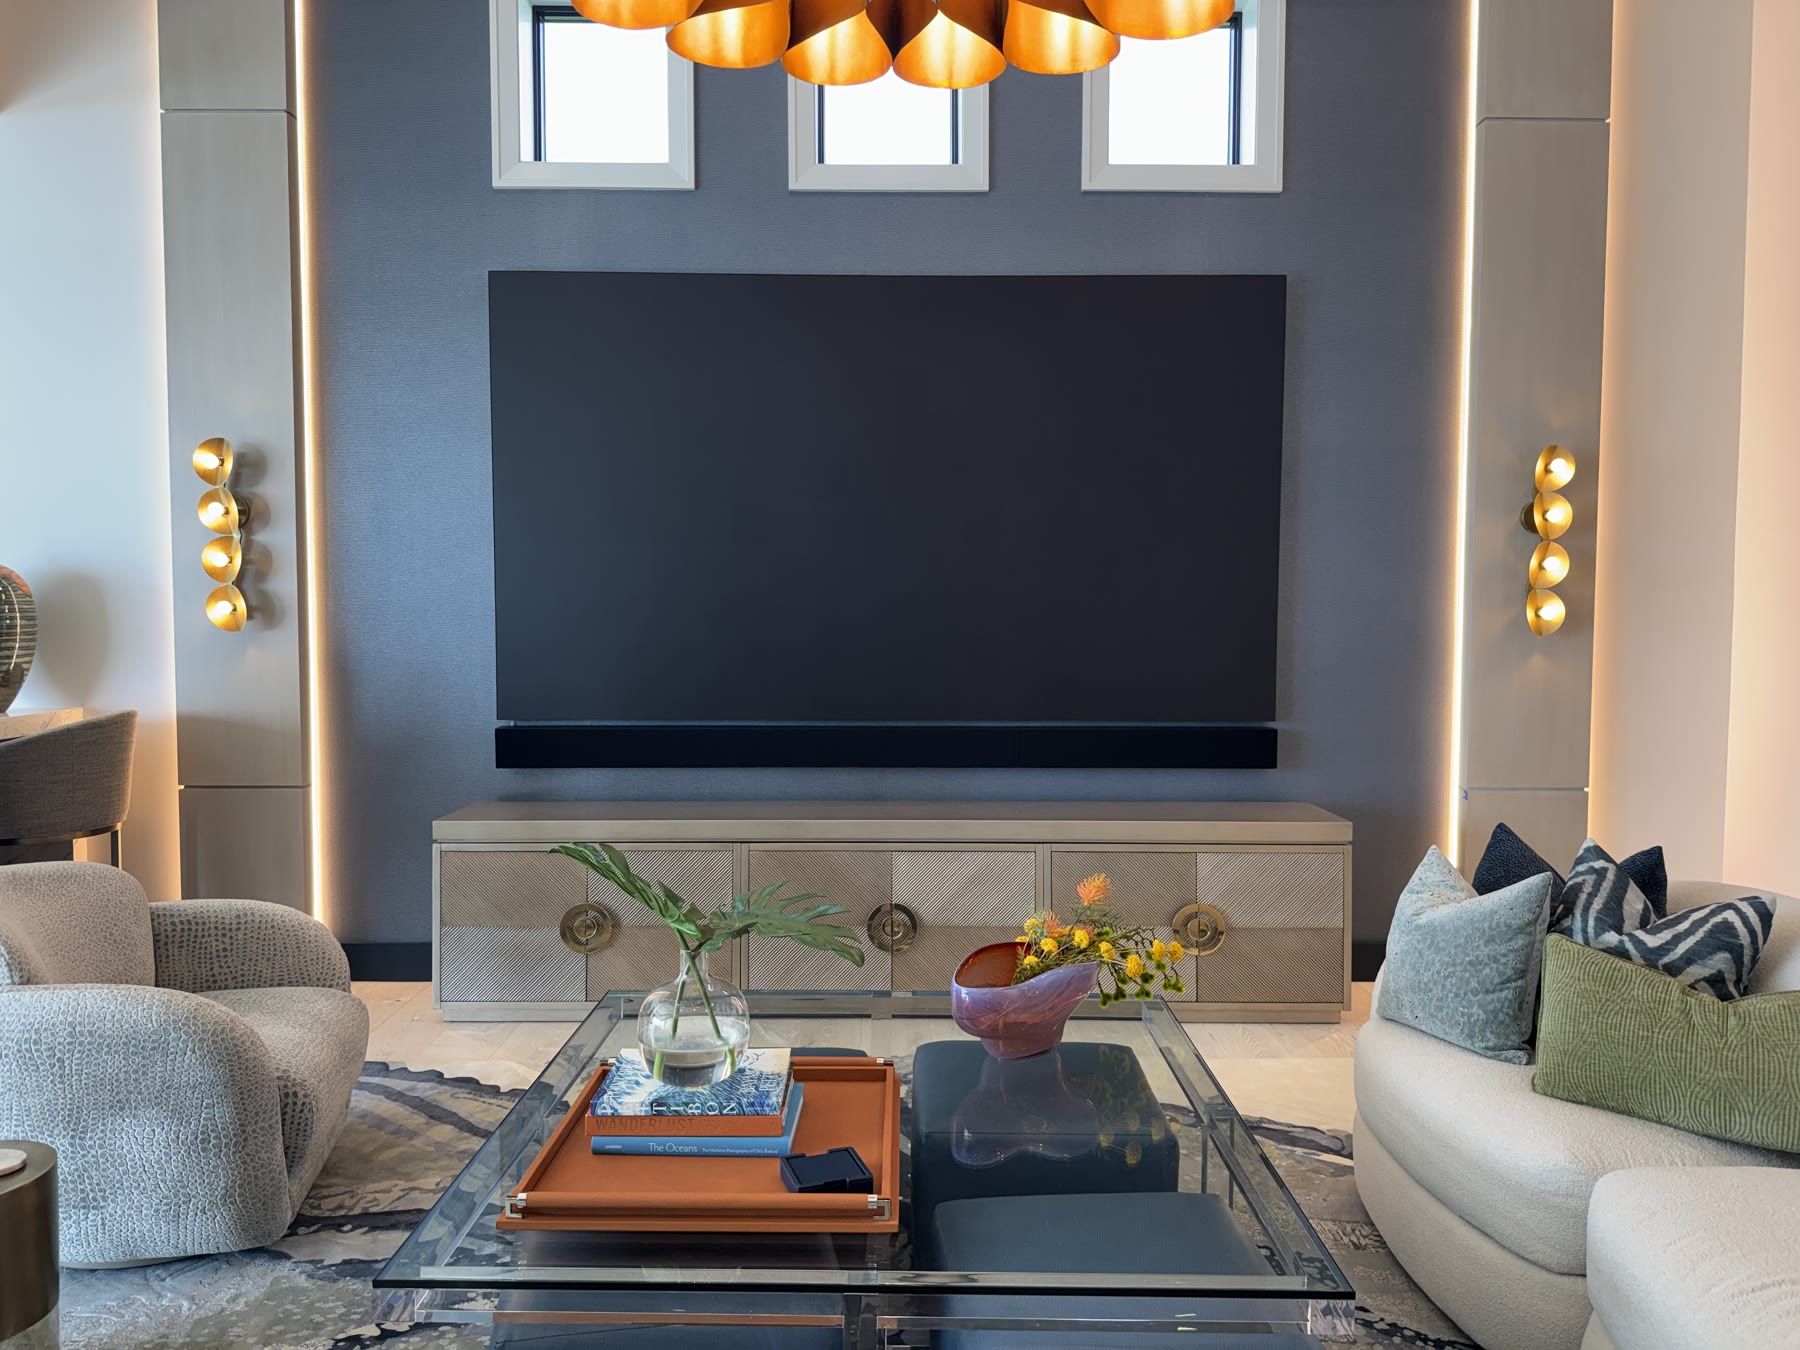
Audio for a MicroLED video wall must be designed around a solid image surface. A conventional center speaker cannot sit behind the display and fire through the picture as it can with an acoustically transparent projection screen. The authorized dealer must instead evaluate a custom soundbar, a dedicated center speaker above or below the wall, flanking speakers, invisible architectural speakers, or a combination of those approaches.
That changes the front of the room. Dialogue still needs to feel connected to the person speaking on screen, while the wall, speakers, acoustic treatment, millwork, and sightlines all compete for a limited amount of architectural space. The audio decision therefore belongs inside the broader process of choosing and planning a MicroLED wall for a home theater.
This is why the authorized dealer and AV professional need to guide the wall and audio design together. The final answer may use a speaker above or below the wall, flanking speakers, invisible architectural speakers, advanced processing, or a combination of those approaches. Each choice protects something and gives up something else.
A Solid Wall Changes the Front-Stage Rule
Traditional cinema design often places the left, center, and right channels behind an acoustically transparent screen. That physical alignment helps voices and on-screen action appear to originate from the image. A MicroLED wall does not allow sound to pass through in the same way.
StormAudio's technical discussion of LED-wall cinema design describes the resulting choices clearly: front speakers move above, below, or beside the display, and the solid wall also becomes a reflective acoustic surface that must be considered during treatment and calibration.
The question is therefore not simply where a center speaker will fit. The dealer must decide how the entire front soundstage will relate to the image, the primary seating axis, the room finishes, and the performance expectations of the client.
Front-Stage Planning Around the Wall
The positions below are design paths for the integrator to evaluate, not interchangeable prescriptions. Wall size, seating, speaker behavior, room geometry, and processing determine which combination works.
Above or Below Is Often the Starting Point
A dedicated center speaker above or below the wall is the most direct response to a solid display. The speaker remains visible or can be integrated into a designed opening, and its output can be aimed toward the listening area. This approach gives the processor a real center channel to work with and can provide strong dialogue clarity.
The compromise is vertical localization. A speaker too far below a tall wall can pull voices toward the floor. A speaker above the image can make dialogue feel elevated, particularly from close seats. Moving the wall to improve one of those positions changes sightlines and may affect the visual relationship between the image and the room.
Your integrator may adjust wall height, tilt or aim the speaker, use multiple front channels, or apply processing that shifts the perceived center toward the image. Those decisions should be auditioned and calibrated from the actual seating positions rather than chosen from an elevation drawing alone.
When a Custom Soundbar Below the Video Wall Makes Sense
A purpose-built soundbar can make the front-stage geometry more deliberate. Its width, enclosure depth, finish, mounting plane, and acoustic center can be coordinated with the display instead of forcing a standard speaker into whatever space remains. Depending on the room and system design, it may serve as the center channel or as a broader front-stage assembly.
The project from authorized Opal dealer Gamma Tech demonstrates the architectural value of that approach. The soundbar follows the display width and sits on the same central datum as the wall, while the surrounding lighting, windows, wall finish, and cabinetry remain visually ordered. The installation is real, but the photograph does not establish the display as an Opal product.
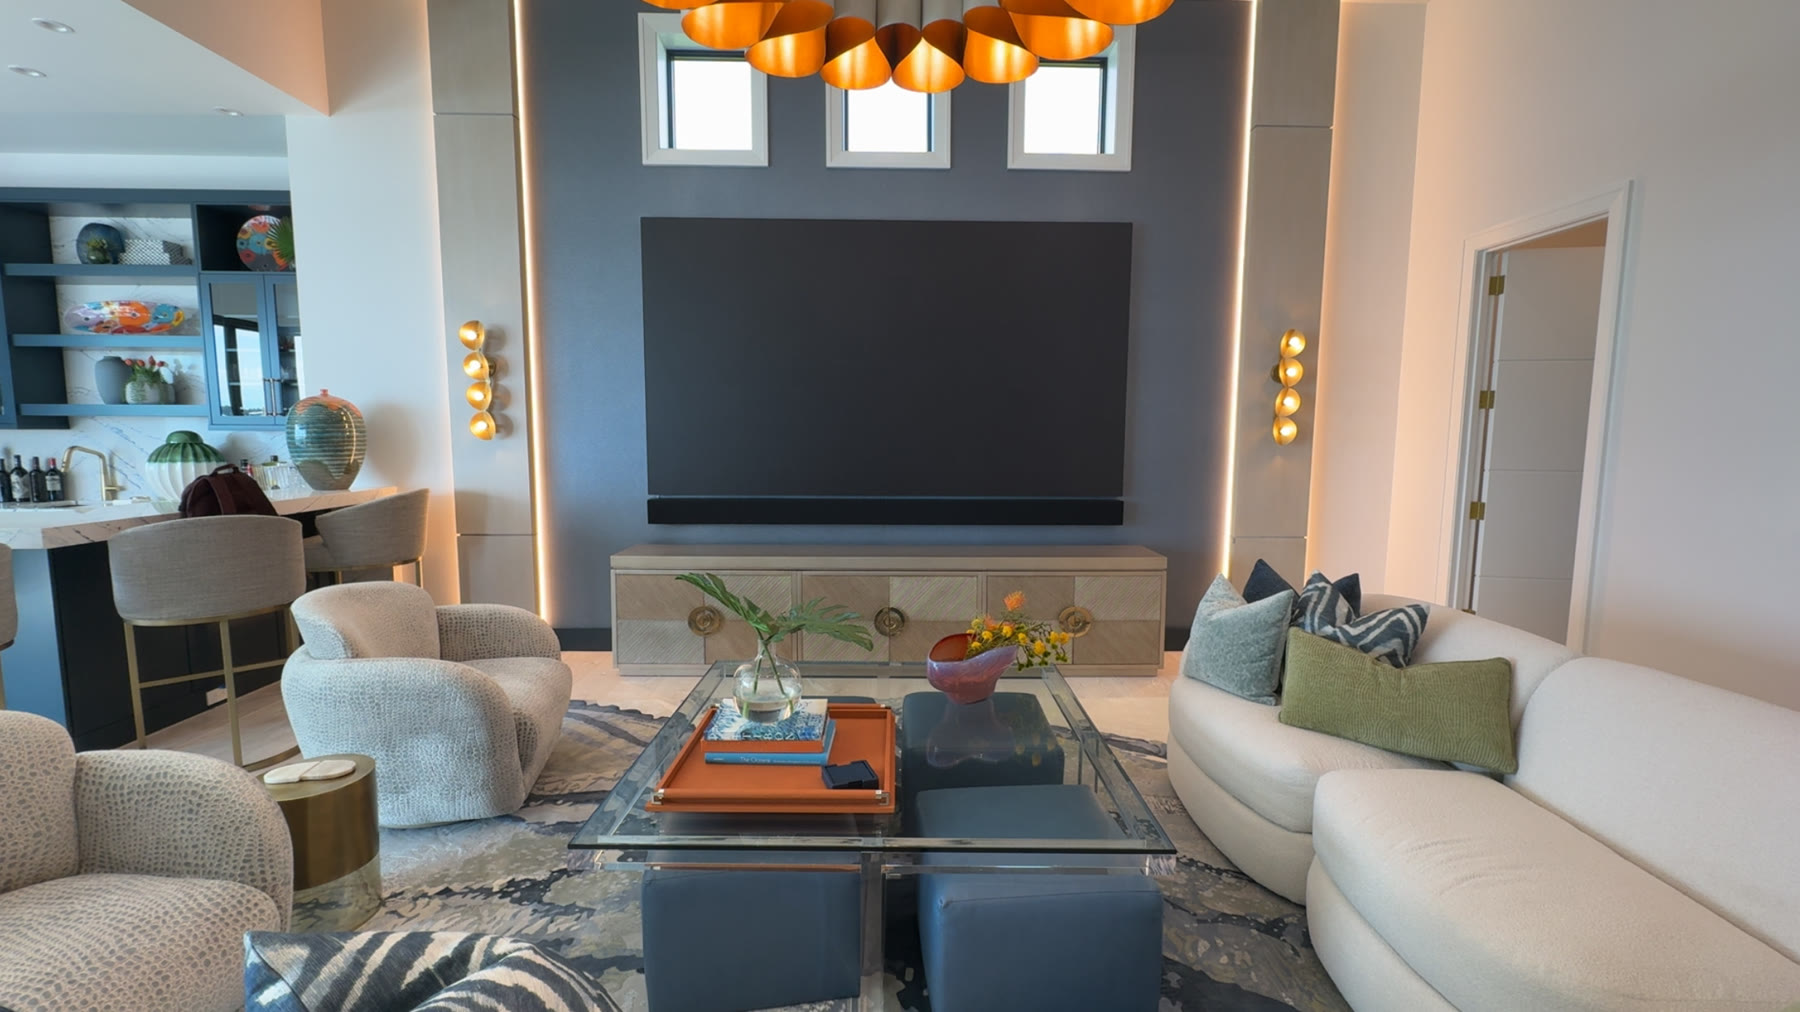
The visual alignment does not determine the acoustic result by itself. The integrator still evaluates driver layout, output, dispersion, enclosure volume, aiming, wall clearance, vibration isolation, amplification, crossover behavior, DSP, and response from every important seat. A long soundbar that looks correctly proportioned can still perform poorly if those decisions are treated as secondary.
Service access also needs an intentional path. Cabling, mounting hardware, removable grilles, display service clearances, and nearby millwork should be resolved before finishes close. Our guide to specifying MicroLED with the residential design team covers the broader preconstruction coordination that protects those clearances.
The primary tradeoff remains vertical localization. A soundbar below the wall places dialogue below the center of the image, so wall height, soundbar aiming, closest seating, processing, and calibration must be considered together. The benefit is a clearly defined physical center channel with a disciplined architectural relationship to the display.
Invisible Speakers Protect the Architecture
Invisible speakers give architects and designers another option. These products are installed into a wall or ceiling and finished over with compatible drywall compound, plaster, wallpaper, veneer, or other approved materials. The visual surface remains quiet while the speaker radiates through the finish.
Sonance's Invisible Series documentation, for example, describes wide dispersion and installation behind several architectural finishes. That makes the category useful around a large image wall where visible grilles would interrupt the composition.
Invisible does not mean placement no longer matters. The dealer still has to evaluate output capability, frequency response, dispersion, covering-material limits, wall construction, back-box requirements, amplification, protection, finish thickness, and future service access. A broad-dispersion speaker may create even coverage, but dialogue localization and reference-level output still depend on the complete design.
Invisible speakers can be an excellent answer when the aesthetic priority is high and the room supports them. They should not be treated as an automatic replacement for a purpose-built cinema front stage. The integrator's job is to decide whether concealment, output, localization, and coverage remain in balance for the actual room.
The Balance Requires Real Tradeoffs
MicroLED cinema design works best when the client and design team understand that visual and acoustic priorities are both legitimate. The strongest solution is rarely the one that maximizes every variable independently. It is the one that makes the right compromises intentionally.
None of these tradeoffs is automatically a flaw. The mistake is allowing them to happen late, after the wall opening, seating risers, millwork, and finishes have already fixed the available geometry.
Processing Helps, but Physics Still Sets the Boundary
Modern processors can distribute center-channel information across several speakers and influence the perceived height and position of dialogue. Room correction can also improve timing, level, tonal balance, and integration across the front stage.
Those tools are valuable, particularly when a speaker cannot occupy the visual center of the wall. They do not make physical placement irrelevant. Equalization cannot move a speaker, and a phantom image that works at the center seat may change as listeners move off axis.
The dealer should choose the processor strategy after the speaker geometry and seating plan are understood. Processing is part of the engineered solution, not a repair for a front wall that was designed without audio.
The Wall Is Also an Acoustic Surface
A large MicroLED wall reflects sound back into the room. Early reflections from the front stage can affect clarity, imaging, and tonal balance. The wall therefore belongs in the acoustic model alongside the floor, ceiling, side walls, millwork, and seating.
Absorption and diffusion near the display can help manage those reflections, but their locations must work with ventilation, service access, and the visual design. Speaker aiming and crossover decisions may also change once the reflective wall is part of the model.
This is another reason the wall, audio, and interior architecture should be designed as one front-stage assembly. Treating them as separate scopes increases the chance that one discipline will consume the space another discipline needed.
What the Integrator Is Actually Deciding
Your authorized dealer and AV professional are coordinating wall dimensions, wall height, custom-soundbar suitability, speaker type, invisible-speaker options, left-center-right geometry, seating width, processor capability, amplification, acoustic treatment, subwoofer strategy, finish materials, service access, and calibration. They are also deciding which compromises the room can tolerate and which ones would be audible or visible every time the system is used. That complete responsibility is why the integrator matters as much as the display specification.
Start With the Room, Not a Preferred Speaker
The most reliable planning sequence begins with the room geometry and listening goals. The integrator establishes the primary and secondary seats, image size, sightlines, intended playback level, and performance expectations. The design team then evaluates front-stage options against the available wall and finish conditions.
A dealer showroom or properly configured demonstration room is valuable because the differences are perceptual. Clients can hear how dialogue behaves when the center is above, below, phantom, processed, supported by a custom soundbar, or supported by concealed architectural speakers. That experience gives the project team a shared reference before construction fixes the final answer. The final room should then be calibrated as part of the complete MicroLED and spatial-audio system.
There will always be a balance between the cleanest architecture and the most ideal loudspeaker geometry. The role of the dealer is not to pretend those priorities never conflict. It is to make the tradeoffs clear, model the options, and guide the team toward a room where the image and sound remain convincing together.
Plan the Display and Custom Soundbar Together
Connect with an authorized Opal dealer to coordinate wall geometry, custom-soundbar or center-channel placement, dialogue localization, processing, acoustic treatment, seating, and service access with your architect and interior designer.
Find Your Integrator